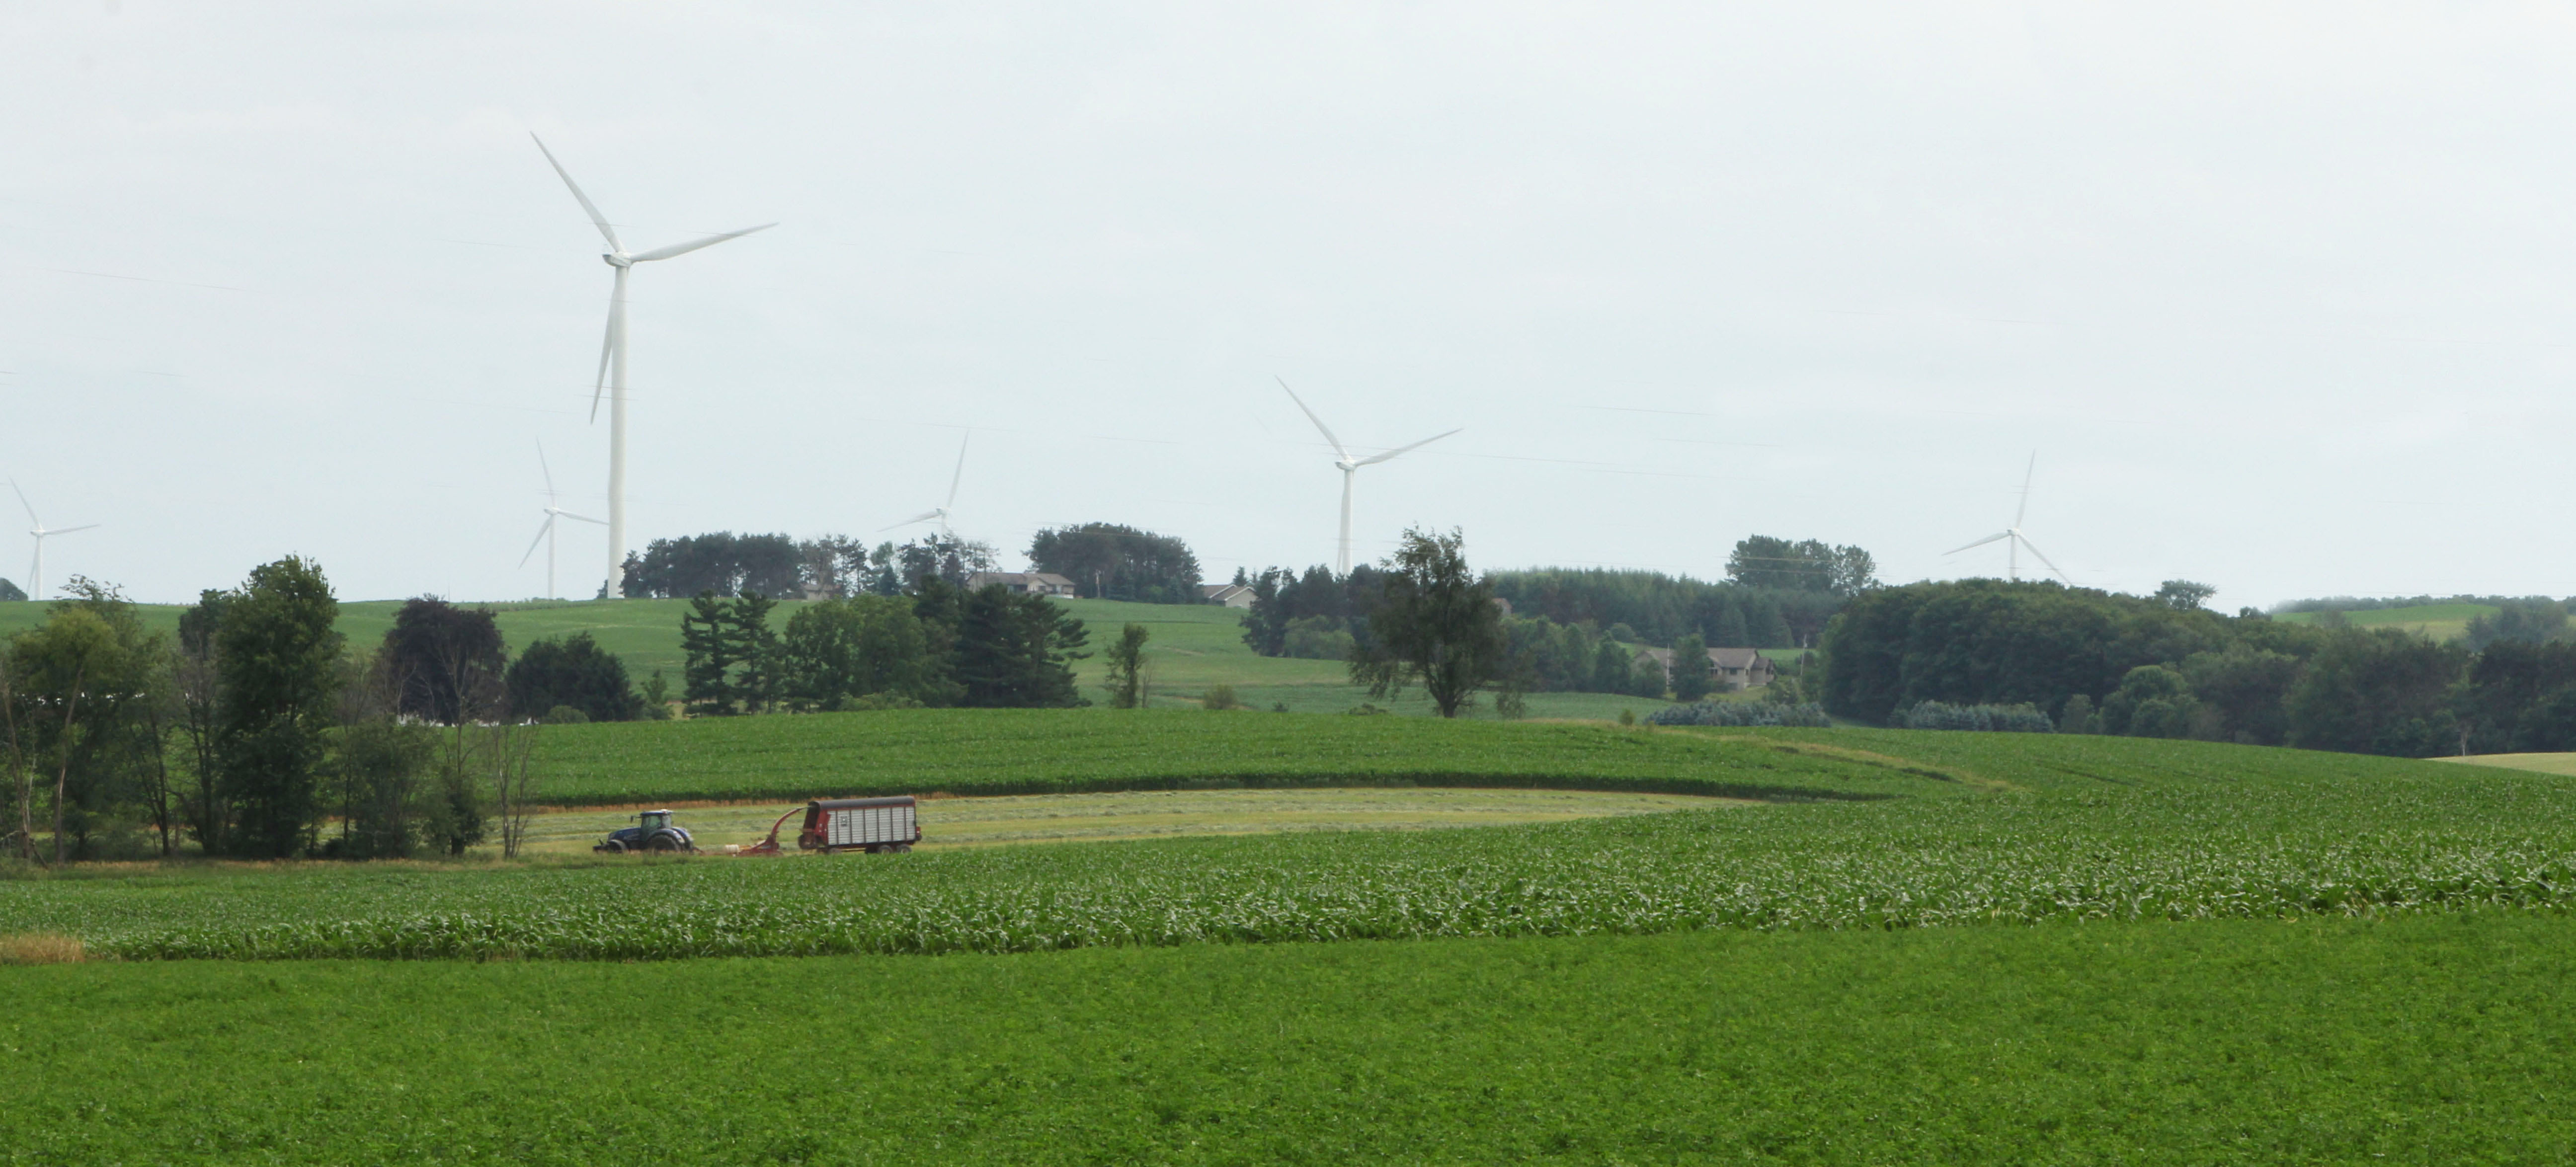
I can’t seem to find anything pleasing in PP for this capture. Give it a try and briefly explain your process. It is a typical Michigan rural scene. Thanks!
5 Likes
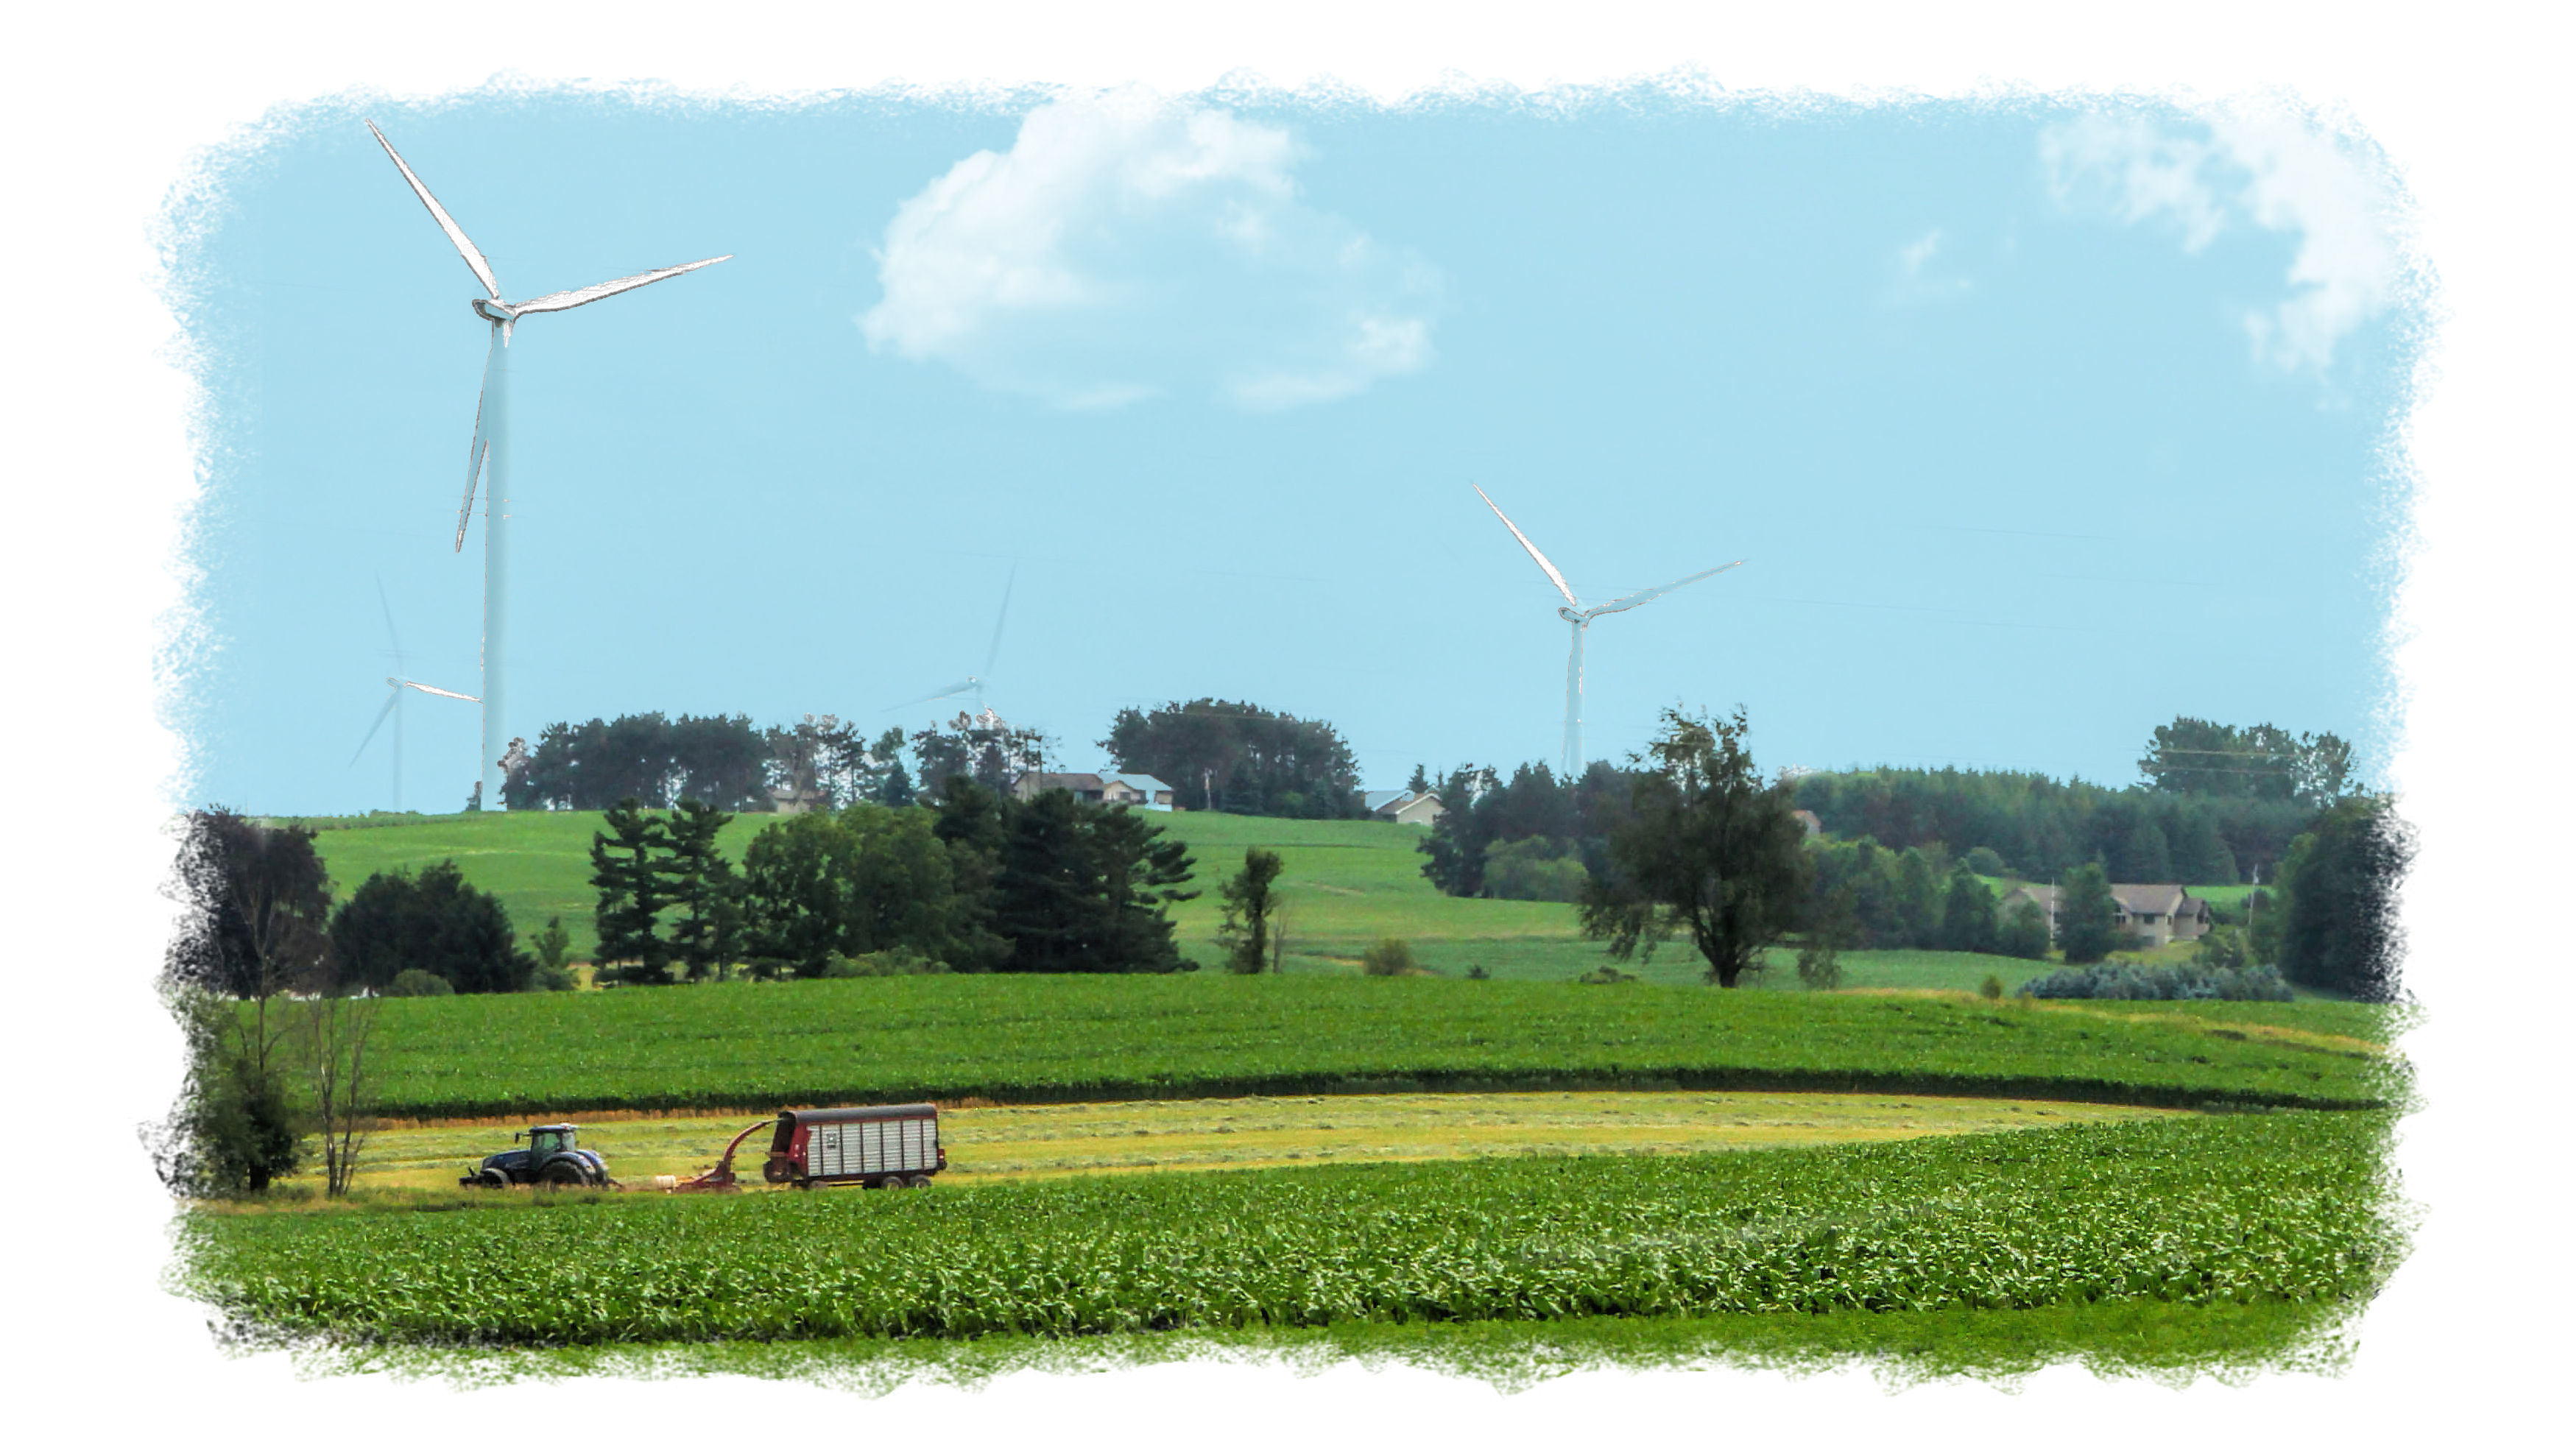
Here’s my rendition. I cropped and applied Clarity; changed the sky color and added some clouds. The second one obviously has a border mask applied.
Thanks for letting us play.

5 Likes
Both great Kathy - Thanks! Is “Border Masks” in PS?
1 Like

no time, but lol, I start with a huge crop of tracktor and wagon (focal point) then cut and paste a clown (last focal point as I eeeee I didnt see that! ) clown is partially seen hanging off the back of the wagon with one arm , head shot , tilted shoulders and half the upper torso , arm stretched out as leaning back hanging on to the back of wagon as in almost hiding, his eyes? looking right at the viewer in a blank stare, now I want ot do it, lol
Thanks Wayne for the image for play, I will give it a go later.
I like @Kathy_9 renditions, especially the one with the border.
Thank you very much for sharing the border…I’m always looking for extras like this.
1 Like
![]()
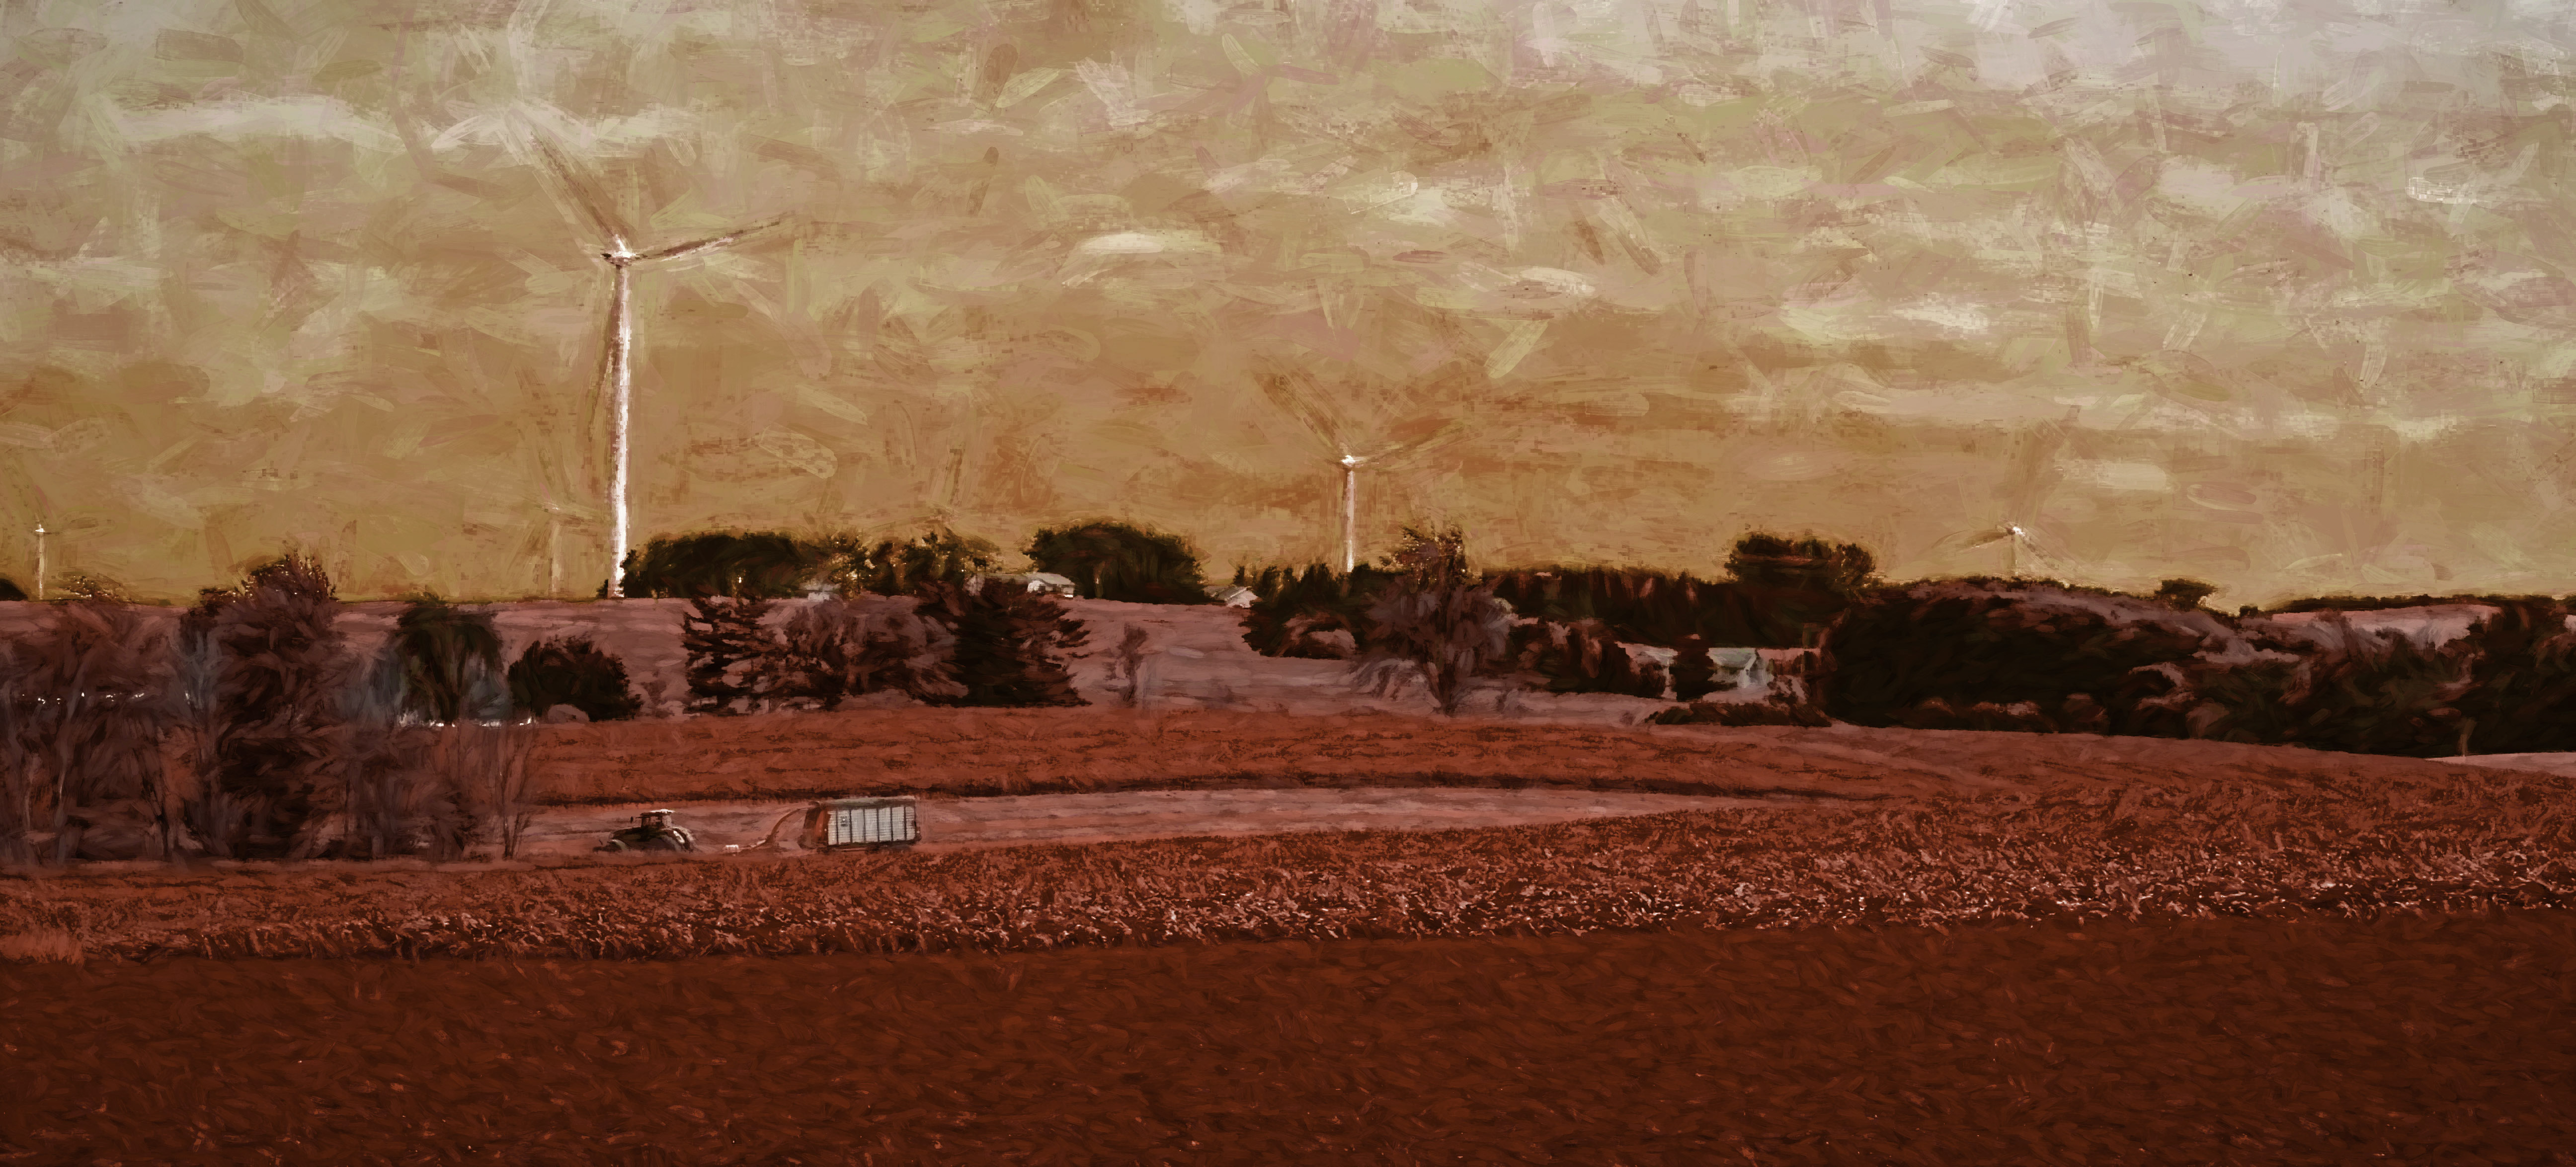
@Michigander, I would like to thank you for bringing back one of my favorite parts of the forum, “Photos for Play” and generously posting your photo here. When I saw it, I wanted to try something different, so I tried to imagine this farm on Mars. I used Impression and Glow to try to do that… ![]()
5 Likes
Yes thanks for re-instating this great institution
my offering - the clouds are in the original - just needed retrieval in PS and B&W effects - did you clone out some cables

5 Likes
You wouldn’t believe how many! They were all over the image. ![]()
1 Like
yes I can see where the clone marks are located and Topaz has accentuated the marks which PS had already accentuated. I know the workflow should be cropping; spotting; cloning; global changes; etc but I’ve found that TOPAZ plugins, especially B&W just love to make spot removal and cloning removal areas more visible ---- @JoeFedric-TL — does anyone at Topaz have an answer – or better still — a solution
2 Likes
Yup - know what you mean. Did not notice any on my post image but I only have the use of one eye and that does, sometimes,create a problem ![]()
Theimage I submitted for the exhibition had a couple of sensor type dust spots on it which didn’t show their ugly faces until B&W Effects had worked its magic. Then it had to go back to PS for spotting which was a bit of a nuisance because the grain pattern specially made in B&W became mutilated by PS.
1 Like
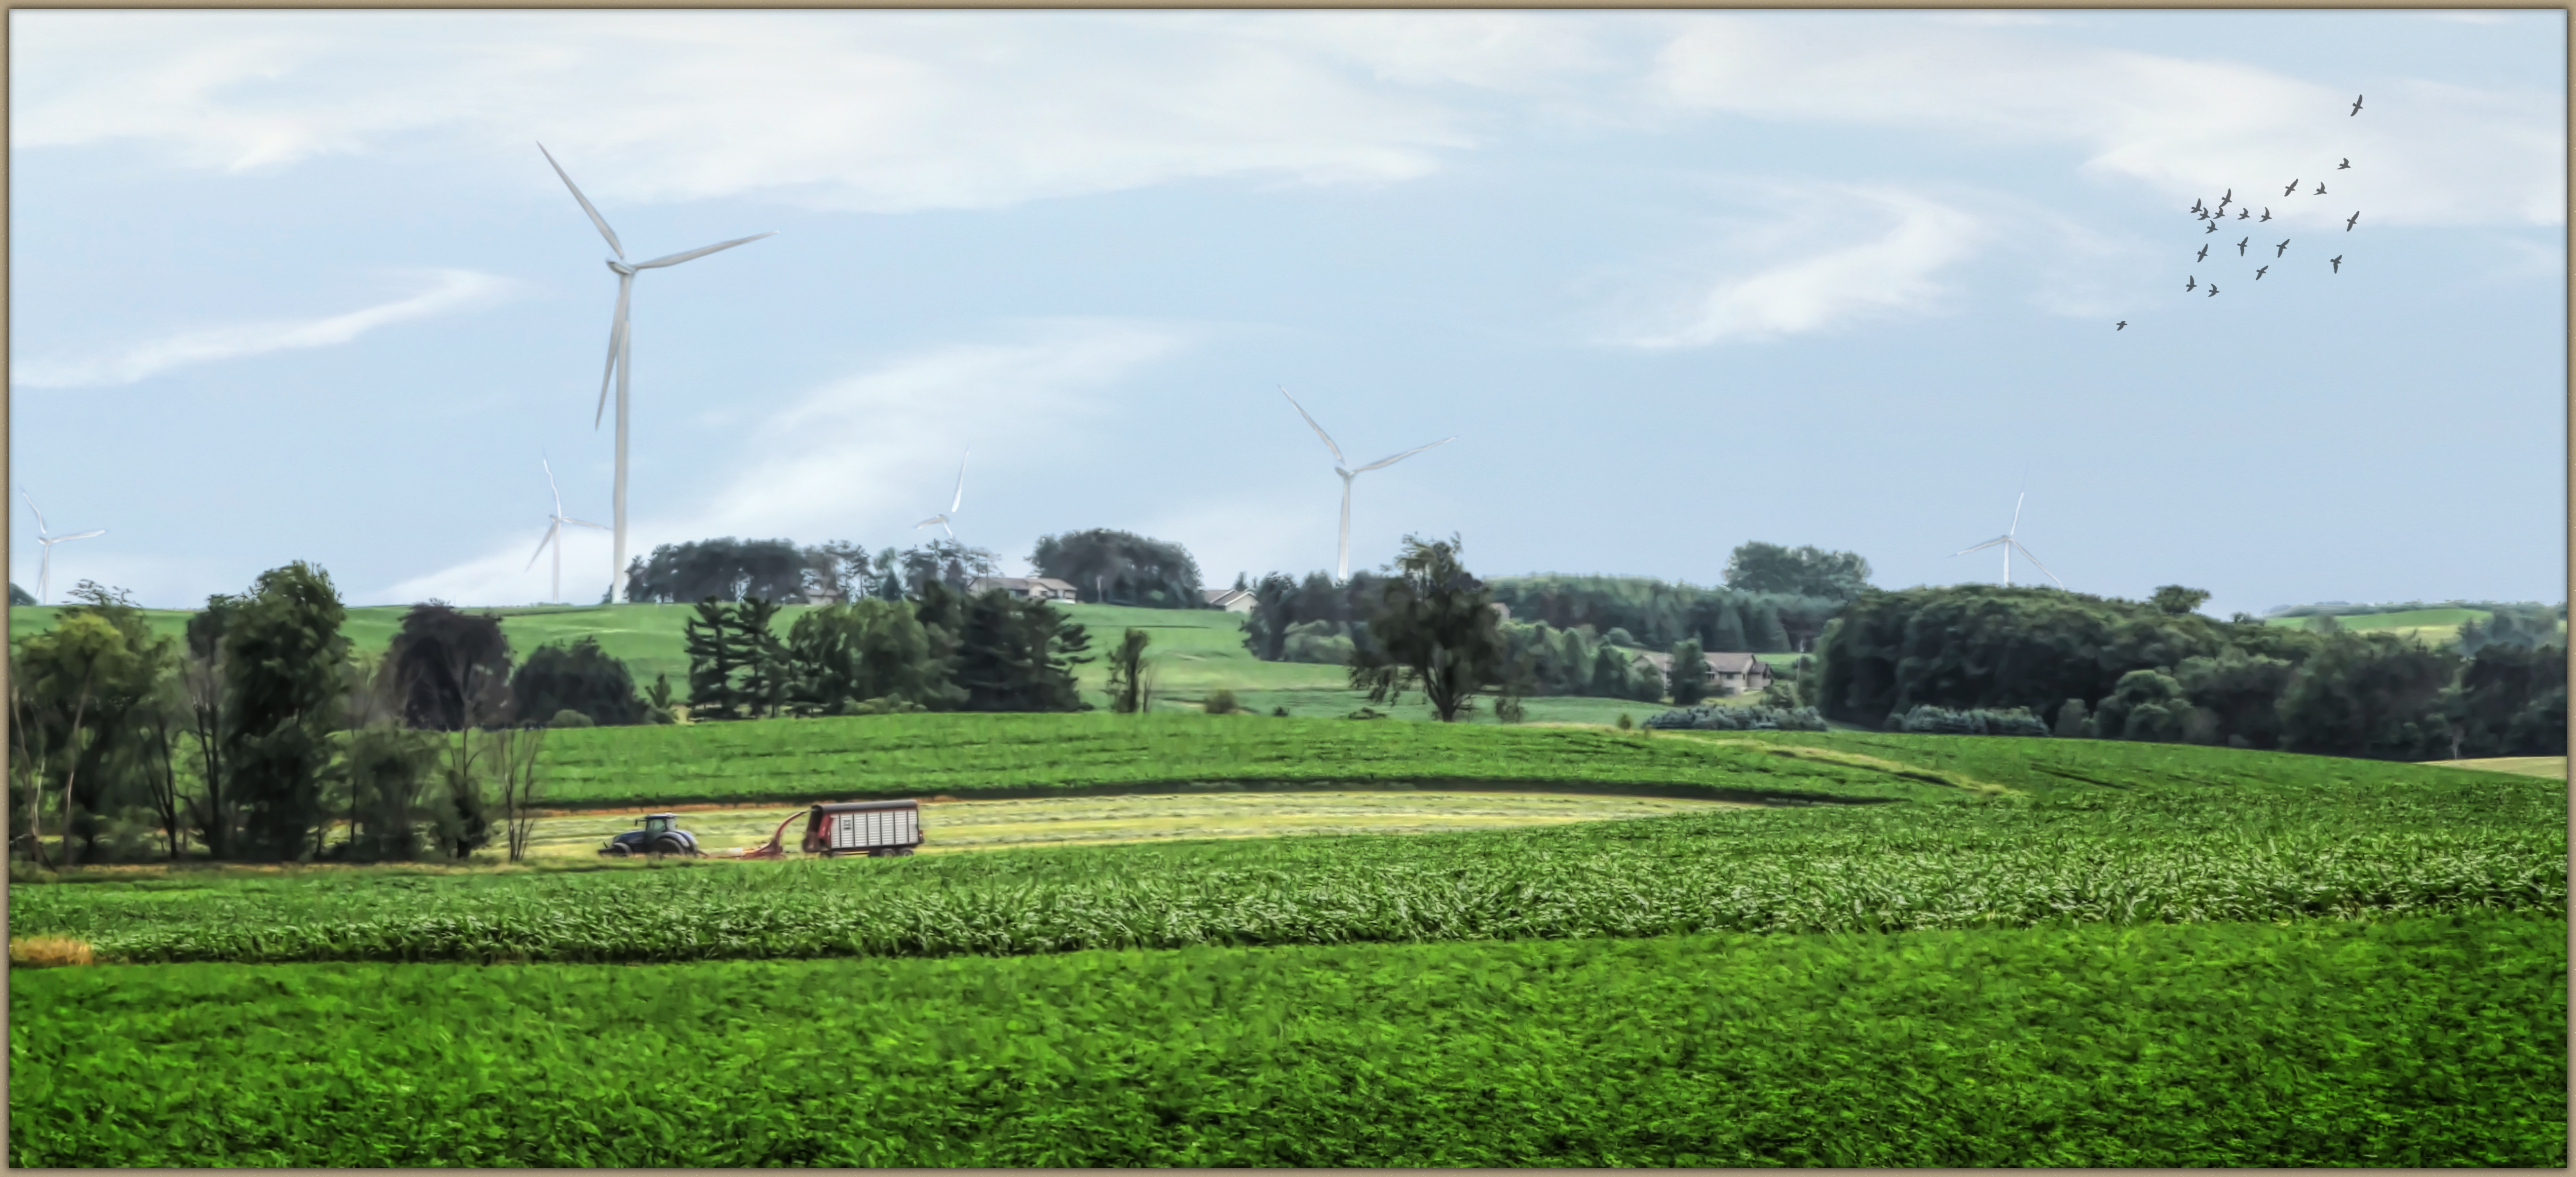
Here’s my go at it. I used a preset in Studio first… sorry I forgot to write down which one?
If you check the screen grab of my layers you will see what I did after changing the sky.
Adjust, using the Equalize preset.
Using a black brush, I created a slight vignette to the bottom of the image and some of the tree shadow area’s where darkened as well.
I added the birds and lowered the opacity with a brush I got here: credit: http://resources.psdbox.com/photoshop/flying-birds-photoshop-brushes
Then used Lens Effects the Graduated Neutral Density Filter using the Top Half 1 Stop preset to brighten up the center tractor & sky areas. Brightness_0.06, Amt._0.44, Transition_0.47 and Angle_80.69
Layers:

5 Likes
What you have to do before you finalize an image is blow it up to full size and look at it that way. I often overlook halos and things like that by not taking that extra step.
1 Like
I like the concept, but concept art is my fav, hard to pull off as there is a lt of balancing points to walk thru
![]()
I use PSP 2018 and I’ve been playing with those same frames, I insert the first frame, then recolor it, After that, I apply more frames, each a different color.
1 Like
